
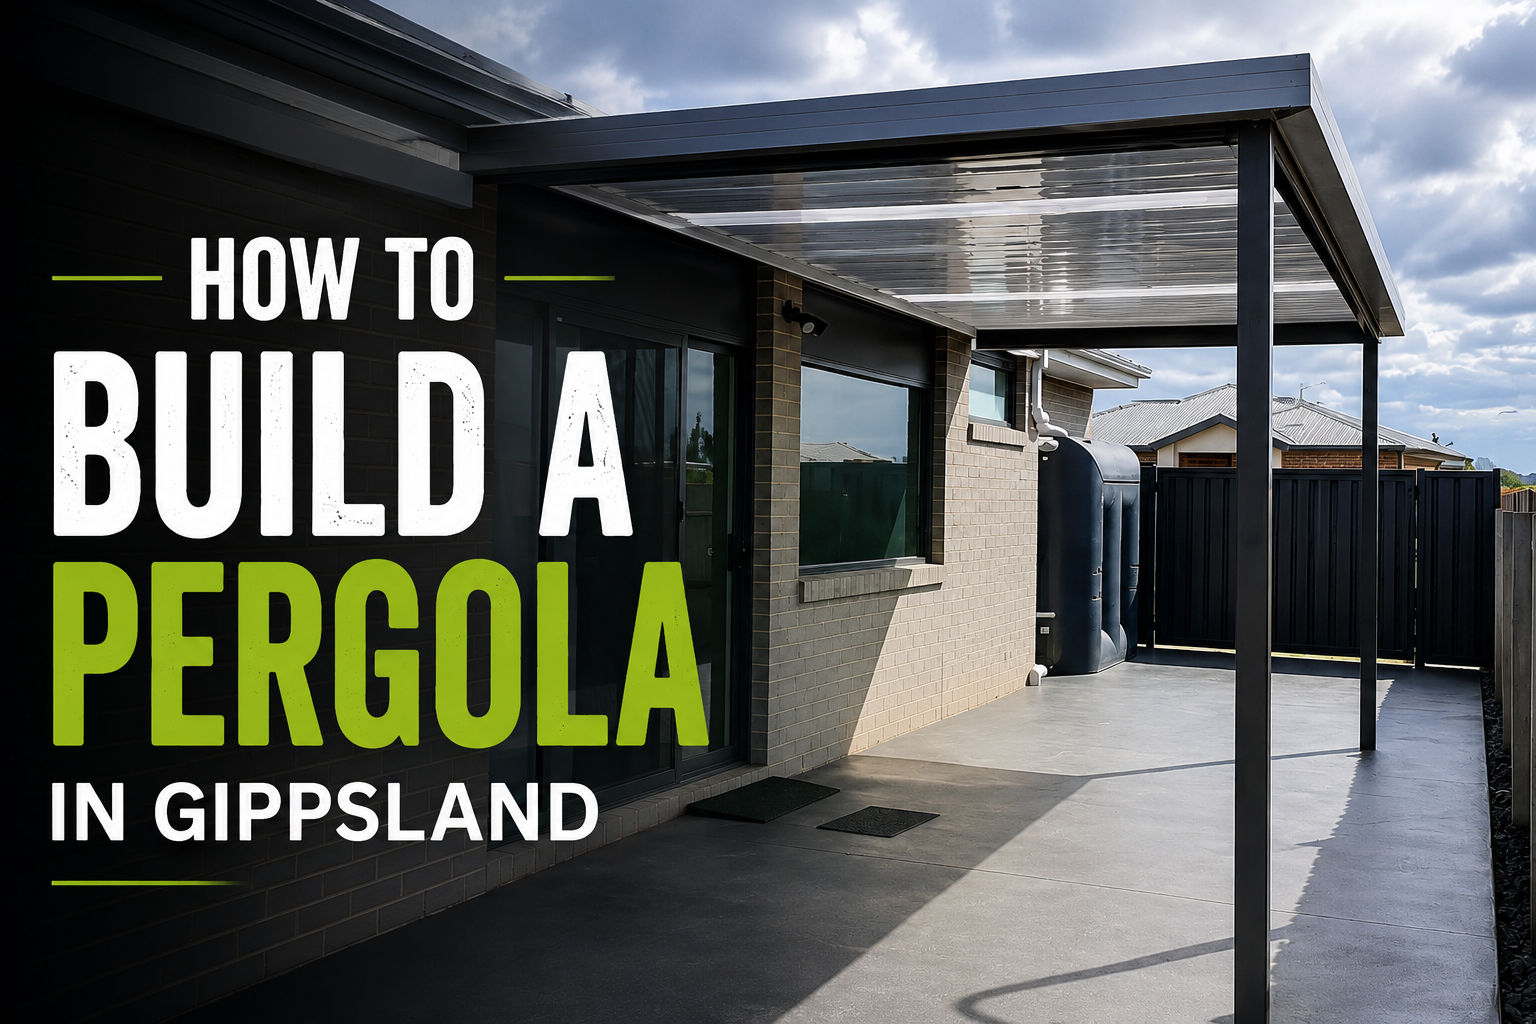
How to Build a Pergola in Gippsland: Plan It Right Before You Build
Picture the back of your home on a warm Gippsland evening. The space could be shaded, easy, and made for slow meals. Right now it sits unused, and every choice raises another question.
Building a pergola in Gippsland comes down to good planning.
35+
Google Reviews
Verified 5-star reviews from Gippsland homeowners via Trustmary
3D
Design Modelling
See exactly how your structure will look on your home before you commit
E2E
Permit Handling
Council approvals managed end-to-end. No paperwork headaches for you
DB-U
Registered Builder
Colin Beer, DB-Unlimited 12691, registered builder on every project
It means matching design, materials, and roof to your home and your block. It also means knowing the permit rules before you commit.
As registered builders, we have helped shape Gippsland outdoor spaces since 2010. The same problems trip up homeowners every time.
This guide walks you through every decision before you build. By the end, you will know what suits your home and your block. You will also know which decisions to lock in before work starts.
The result: a pergola you feel sure about.
The Necessities of Building a Pergola
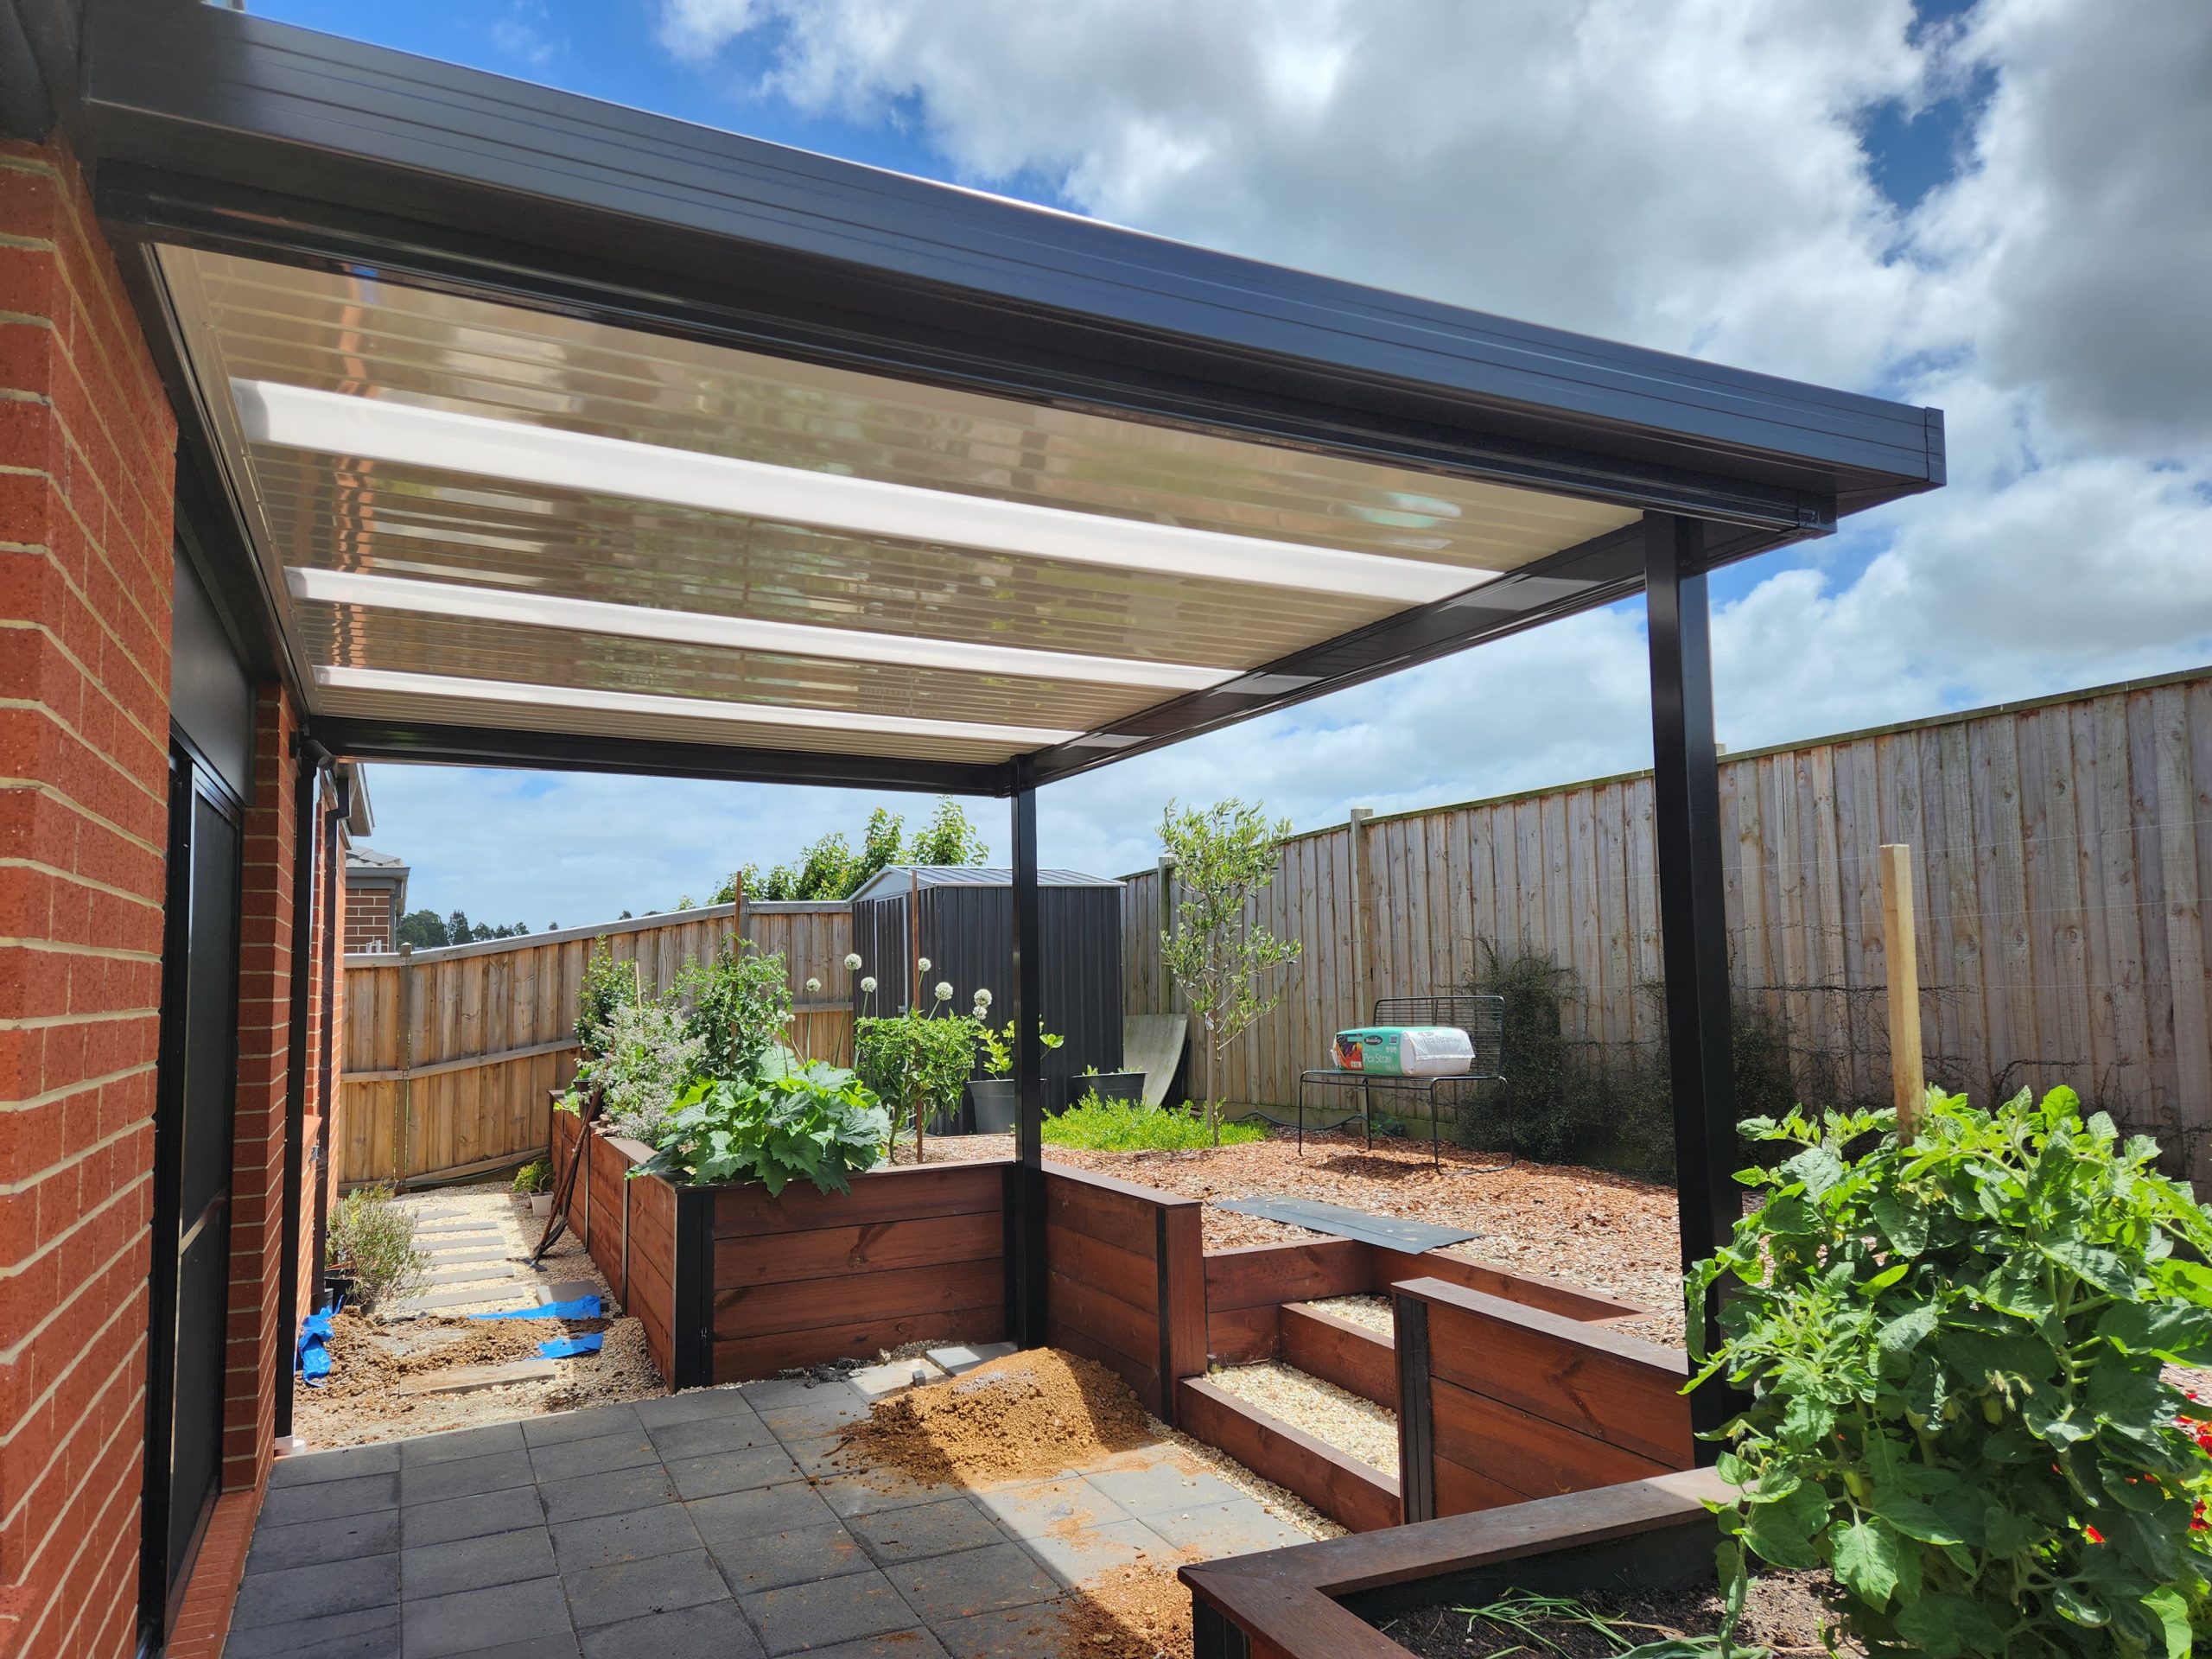
A pergola is an open outdoor structure of posts, beams, and rafters.
It defines a space without walling it in. Traditional pergolas carry open slats or climbing plants for dappled shade. Add a solid roof, though, and you have a different structure.
In Victoria, a roofed version counts as a verandah, not a pergola. The difference looks small, yet it changes what permit you have to process. We’ll discuss this more as we go on.
Most pergolas fall into one of two types. Your choice shapes the footings, the cost, and how it meets the home.
Attached Pergola or Freestanding Pergola: Which Fits Your Home?
An attached pergola fixes to your house and extends an existing outdoor area. It feels part of the home and saves ground space. It also transfers load to your wall, so the attach detail matters.
A freestanding pergola stands on its own posts, set anywhere you like. Freestanding suits a poolside corner, a lawn, or a shaded retreat.
Planning Your Pergola and Reading Your Gippsland Site
I know you’re excited to know how your pergola will look.
But, good planning starts with the site, not the design. Read your block first, then let the design follow.
Sun matters most.
Note where the afternoon sun hits in summer. A west-facing home can turn a pergola into a heat trap. Plan for winter light too, since low sun reaches further inside. The right orientation keeps the space usable in every season.
Gippsland weather adds a few more checks.
Wind exposure affects post size, bracing, and roof choice. Rain and drainage decide where water goes once the roof sheds it. Soil and slope shape your footings and the level of the finished floor.
Look at what is already there in the garden.
Building over an existing deck or paved patio can save cost. A timber deck needs sound framing to carry new posts. A patio area may need core holes for proper footings. Take careful measurements before you commit to a size.
One more check is easy to miss. Some Gippsland blocks sit in bushfire prone areas or carry planning overlays. According to Planning Victoria, these mapped areas can trigger extra building rules. They shape what is suitable, and where it can go.
Do You Need a Permit or Planning Permission in Victoria?
Often you do not, if the pergola stays small and open. Sometimes you do, and getting this wrong is costly.
Under Schedule 3 of the Building Regulations 2018, an open pergola can be exempt. It qualifies only when it meets every condition.
The floor area is 20 square metres or less. The height stays at 3.6 metres or less. It sits behind the front wall of the house, with slats and no solid roof.
Cross any of these limits and a building permit applies. Add a solid roof and the rules change again. In Victoria, a roofed pergola is reclassified as a verandah, and a permit is required.
Other factors can trigger approval on their own.
Heritage, bushfire, and flood overlays may require planning permission. An easement under your build can block it entirely. Your local council confirms which regulation applies to your block.
Interested to know more? Full details sit in our guide to pergola building permits.
Materials Made for Gippsland Weather
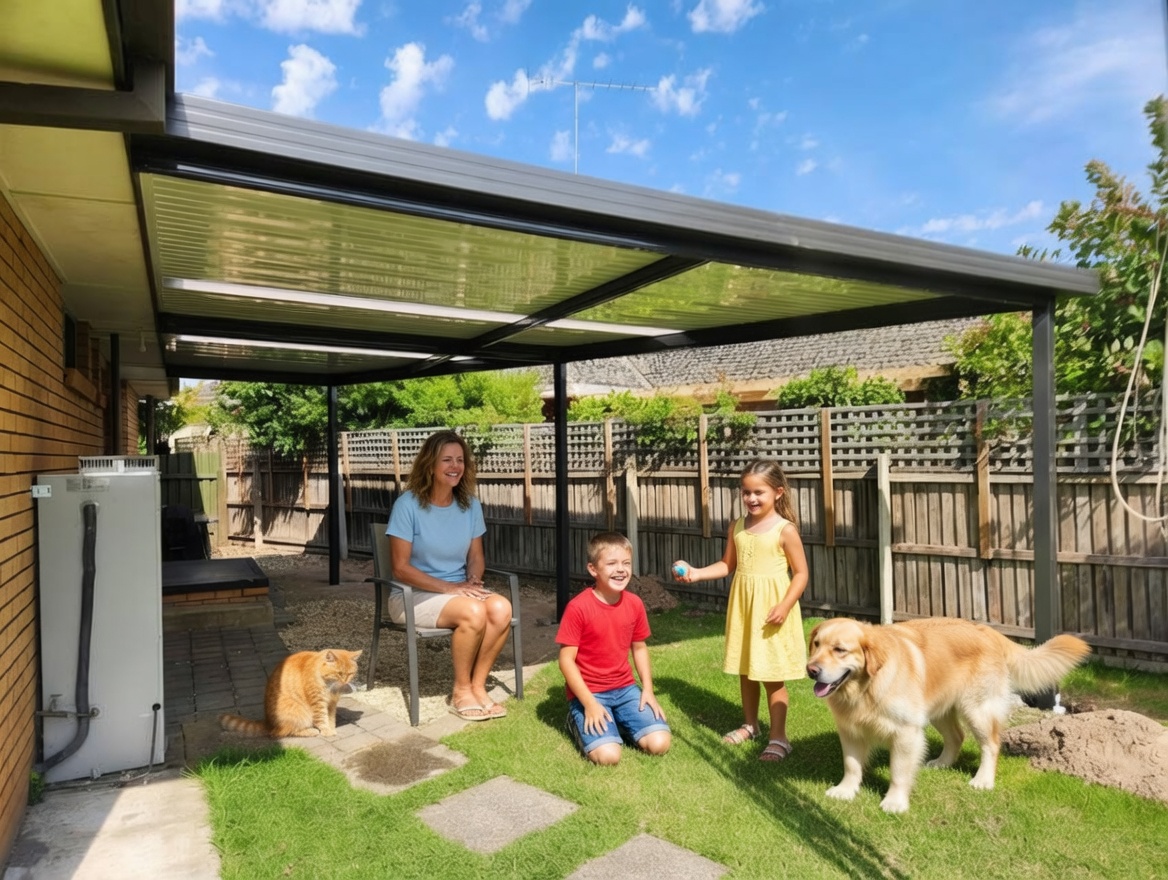
It is tempting to pick materials by looks alone. But your pergola has to survive Gippsland. Wet winters, hot summers, and gusty days test every choice.
Timber, Steel, and What Lasts
Treated pine is where most Gippsland pergolas start.
It is cost-effective, paints up well, and does the job. Fancy something warmer? Cedar resists rot and ages beautifully.
Timber grading is everything here. According to the 21 Timbers, H3 suits above-ground use. H4 lumber belongs in the ground.
Want bigger spans or near-zero upkeep? Look at engineered timber or steel. A wooden pergola feels warm and classic. Steel reads clean, modern, and sharp.
The best material is simply the one suited to your home. Panels, trim boards, and the odd accessory come later, to match the design.
Brackets and Hardware: The Parts Doing the Heavy Lifting
Nobody admires a bracket. Yet hardware is what keeps the whole thing standing.
Skimp here and the structure loosens within a few seasons. Use galvanised or stainless fixings, since rust is the enemy. Every screw and bolt should be rated for the outdoors.
Before you order, check the materials and tools against the final plan.
Your Roof, Your Canopy, Your Comfort: Getting the Shade Right
Of every decision you make, the roof matters most.
It makes or breaks how you’ll enjoy your pergola. Too much sun and you avoid it. Too dark and it feels closed. Get it right and you will sit out here far more often.
Open slats throw dappled shade and keep things bright.
Prefer flexibility? A canopy or fabric cover comes and goes with the season.
Want full weather protection? Solid or polycarbonate panels have you covered.
Adjustable louvres let you dial the light up or down.
The western side is where summer afternoons bite hardest. More cover keeps it cool, but it also darkens the rooms behind. For long lunches and good company, aim for shade without the gloom.
One reminder before you fall for a solid roof. In Victoria, it can turn your pergola into a verandah. Plan the cover and the permit together, never apart.
From Footings to Finish: Building a Pergola Step-by-Step
You do not need to swing the hammer to plan well. But it helps to know the order things happen in.
It all starts underground, with footings and posts set plumb. Each column carries real load, so depth and bracing count.
Then beams lock across the posts and tie everything together. Rafters drop over the beams to form the overhead frame. Battens or slats finish the top and shape your shade.
A special mention for Gippsland's public enemy number one: wind.
Diagonal bracing keeps the frame sturdy and stops the sway. Get the layout square now, or pay for it later. Small set-out errors only grow as you build upward.
For a custom build, we install each stage in proper sequence. One tip worth gold: dry-fit the joints before fixing anything. Good order makes the whole installation feel smoother. Built in the right order, it stands solid for years.
What a Pergola Really Costs in Gippsland
Everyone wants a number, and we get it.
But a single price hides what truly drives the cost. Two pergolas of the same size can quote worlds apart.
Your block does most of the talking.
Slope, soil, footings, span, and access all move the figure. A flat, open yard is cheap to build on. A steep or tight site means more work and more cost. Roof choice then swings the total again.
A pergola kit looks cheap on the shelf. Custom design costs more, but it fits your home exactly.
Be wary of any "from $" headline. It rarely includes the parts your site actually needs. This is why we quote a fixed price, with the scope spelled out.
Ask for a clear breakdown before you compare any quotes.
Your Roof, Your Canopy, Your Comfort: Getting the Shade Right
Of every decision you make, the roof matters most.
It makes or breaks how you’ll enjoy your pergola. Too much sun and you avoid it. Too dark and it feels closed. Get it right and you will sit out here far more often.
Open slats throw dappled shade and keep things bright.
Prefer flexibility? A canopy or fabric cover comes and goes with the season.
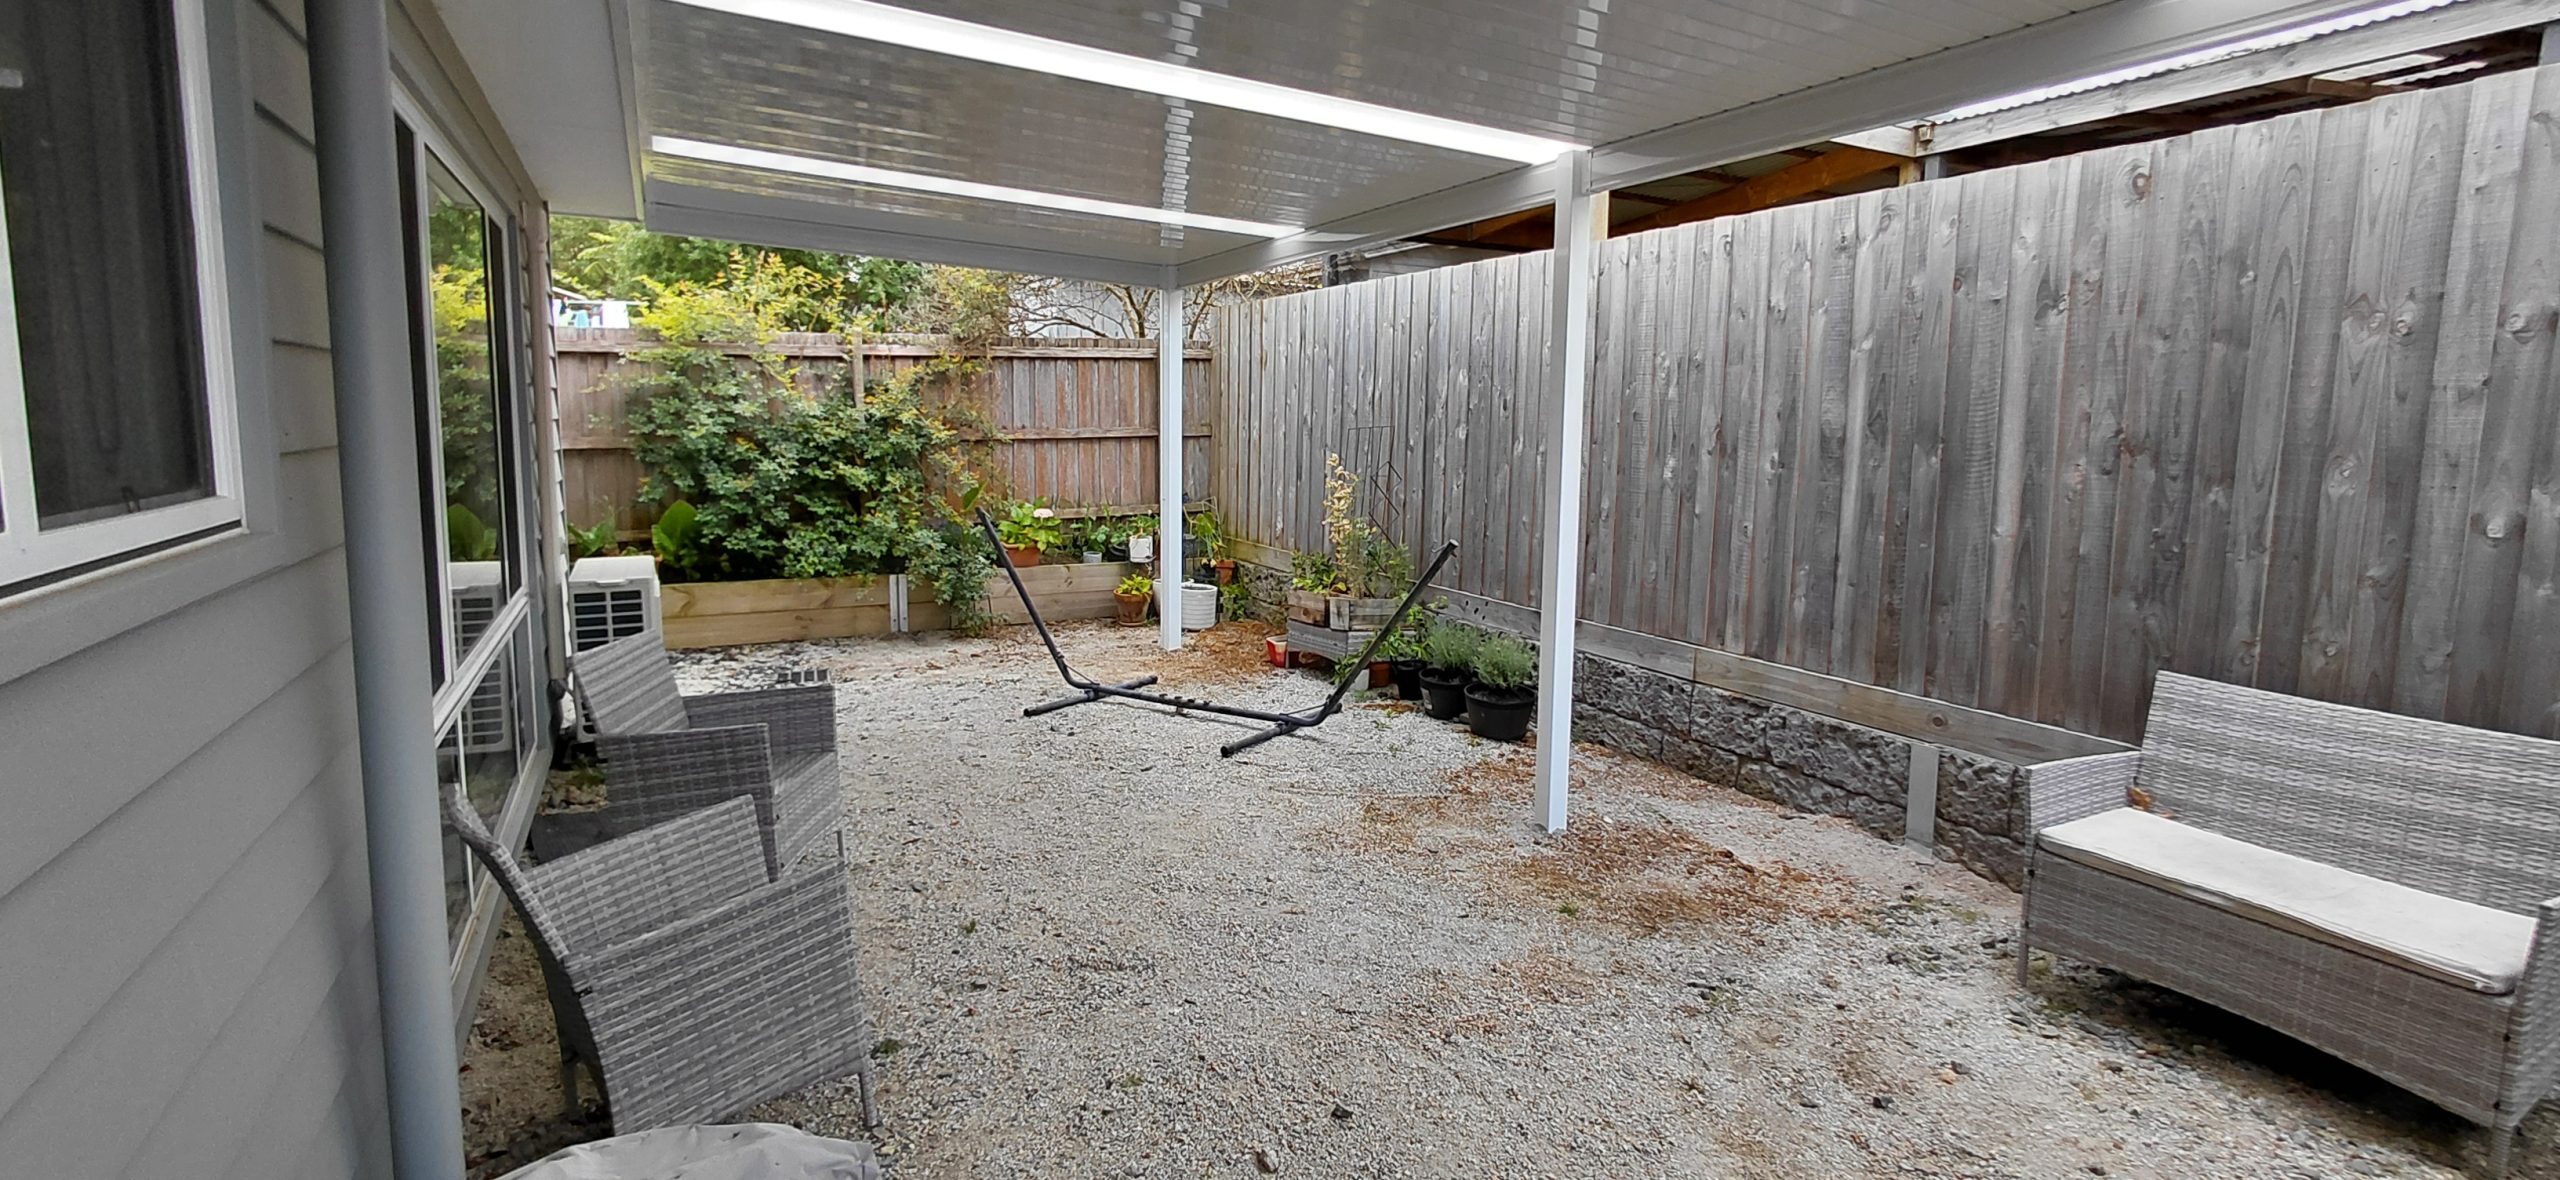
Want full weather protection? Solid or polycarbonate panels have you covered.
Adjustable louvres let you dial the light up or down.
The western side is where summer afternoons bite hardest. More cover keeps it cool, but it also darkens the rooms behind. For long lunches and good company, aim for shade without the gloom.
One reminder before you fall for a solid roof. In Victoria, it can turn your pergola into a verandah. Plan the cover and the permit together, never apart.
From Footings to Finish: Building a Pergola Step-by-Step
You do not need to swing the hammer to plan well. But it helps to know the order things happen in.
It all starts underground, with footings and posts set plumb. Each column carries real load, so depth and bracing count.
Then beams lock across the posts and tie everything together. Rafters drop over the beams to form the overhead frame. Battens or slats finish the top and shape your shade.
A special mention for Gippsland's public enemy number one: wind.
Diagonal bracing keeps the frame sturdy and stops the sway. Get the layout square now, or pay for it later. Small set-out errors only grow as you build upward.
For a custom build, we install each stage in proper sequence. One tip worth gold: dry-fit the joints before fixing anything. Good order makes the whole installation feel smoother. Built in the right order, it stands solid for years.
What a Pergola Really Costs in Gippsland
Everyone wants a number, and we get it.
But a single price hides what truly drives the cost. Two pergolas of the same size can quote worlds apart.
Your block does most of the talking.
Slope, soil, footings, span, and access all move the figure. A flat, open yard is cheap to build on. A steep or tight site means more work and more cost. Roof choice then swings the total again.
A pergola kit looks cheap on the shelf. Custom design costs more, but it fits your home exactly.
Be wary of any "from $" headline. It rarely includes the parts your site actually needs. This is why we quote a fixed price, with the scope spelled out.
Ask for a clear breakdown before you compare any quotes.
DIY or Hire a Builder?
Some pergolas are a fair weekend project. Others quietly turn into a job you regret starting. The right answer depends on you.
A small, freestanding DIY pergola can be very doable.
With clear plans available, a confident DIY-er can manage it. A pergola kit suits standard sizes and simple diy assembly. Watch a tutorial, follow the steps, and you can build a DIY pergola yourself. Plenty of weekend diy projects finish well this way.
Trouble starts when the project grows.
Attaching to the house, footings in poor soil, and wind loads add risk. Permits, structural fixings, and a clean finish are easy to underestimate. Get one wrong and a cheap build turns expensive. This is where a custom pergola builder in Gippsland earns the fee.
Hiring out does not mean losing control. A good builder handles permits, design, and the council back-and-forth. You see it in 3D, approve a fixed price, then relax.
The real question is: how much risk do you want?
Simple DIY Pergola or Pergola Kit: When It Works
Not every pergola needs a builder.
A small, freestanding one on flat ground is a fair weekend job. A pergola kit makes it simpler still, with parts cut to size.
Most kits include clear instructions to follow step by step. If your backyard is level and the design is basic, this route can work well.
Want to Build a DIY Pergola Yourself?
Doing it yourself can be rewarding when the project stays small. If you plan to build a DIY pergola, start with a clear layout and square footings.
Use the right treated timber, set posts plumb, and brace against the wind. The hardest parts are usually permits, attachments, and a clean finish.
Know your limits, and call a builder before a small fix grows.
Pergola Design: Make It Look Like It Belongs
The worst pergolas look bolted on as an afterthought. The best ones look like they grew with the house. Good design is the difference.
Match the roofline, the proportions, and the materials to your home. A pergola design should echo what is already there. Where it attaches and how it sits decide the whole look. Posts placed with care keep views and walkways open. Small choices like batten spacing shape the final feel.
Think a season ahead while you plan. Wiring for lights, screens, or a future roof now saves regret later. Small additions are far easier before the build.
Best of all, you can see it first in 3D when you pick the right builder.
Why commit to a guess when you can view the result? Seeing beats imagining, every time.
Keeping Your Pergola Strong Through Gippsland Seasons
Gippsland weather is hard on anything left outside. A pergola is not set-and-forget, but it is close. A little care buys you decades of good use.
Re-coat timber every few years to hold off the weather. Check fixings each season for rust, movement, or wear. Clear leaves and debris off flat roof sections after storms. Let air move through the frame to stop trapped moisture. Treated timber, kept dry at the base, simply lasts longer.
Look after it, and it looks after your weekends.
5.0
★★★★★ Google Rating
35+ verified reviews via Trustmary
★★★★★
We are very happy with our new Carport, Sunroom and Veranda! Colin and Gerry are true professionals with an eye for detail and craftsmanship. They worked seamlessly with all the others tradies on site to deliver a beautiful result on time and on budget. We recommend them very highly!
Argyro G.
★★★★★
A big thankyou to both Colin and Jerry for organising / building our pergola. - It looks fantastic and only took a couple of days to put up. They handled all the paperwork (permit applications, etc.) and just took any stress out of the process. Very clear communication, professional and at a reasonable price. Honestly, would recommend these guys to anyone and very happy with the end result. 
David
★★★★★
We love our patio.. great work to colin and gerry.. you did a great job. You guys are great to talk too.. The workmanship you did on the patio was 100%.. We have had a patio done before, with another company wasn't as great workmanship as this one.. We are both already enjoying it.. Thanks again Colin..
Kerry L.
★★★★★
Easy to talk too, conscience & work completed in a timely manner. Highly recommend.
Dianne T.
Often no, if it is open, under 20 square metres, and under 3.6 metres. A solid roof or a larger size usually means yes. Always confirm with your council first.
A simple build can take a few days. A custom design with permits takes longer, often a few weeks. Site, size, and approvals set the real timeline.
Yes, and it often saves money. A timber deck needs sound framing to carry the posts. A solid patio may need core holes for proper footings.
Sometimes, for a small kit on flat ground. Costs climb once permits, footings, and attachment come in. A poor DIY job often costs more to fix later.
Steel and treated timber both wear well here. Steel needs the least upkeep. Treated timber lasts long when sealed and kept dry at the base.
How to Build a Pergola the Right Way
A pergola is a big call, but it does not have to be a gamble.
Plan the site, the permit, the materials, and the design first. Get those right and the build runs smoothly.
When you are ready, we can show you your pergola in 3D before you commit. Ask us about a fixed-price quote built around your home and your Gippsland block.
The first step is a conversation, no pressure, no hard sell. Tell us about your home and outdoor space. We'll help you work out the right fit and what it would realistically look like.